The following is a guest post by Dan Barr of KidsCameraGuide.com.
Photography is a wonderful hobby which sometimes becomes a passion and an occupation. We, as humans, love to experience new things and what better way to capture the magic of something new other than photography. Photography inspires us to get out more often, see things from a new light and connect with places and people.
From my experience, I have seen that children LOVE photography. For them, it’s like a game which they can play endlessly, as the opportunities to explore that photography allows them is boundless. In this generation where kids prefer to be at home on their mobile phone or iPad, giving them a camera which doesn’t do anything other than capture photographs, encourages them to get out of the house, look at things in a different light and increase their concentration.
And the most important thing that you need to keep in mind is that a camera is not a bribe you should use to keep your child occupied. Rather, let it be an opportunity for your child and you to bond and spend time with each other.
Here are the first five steps you need to keep in mind while teaching photography to your kid:
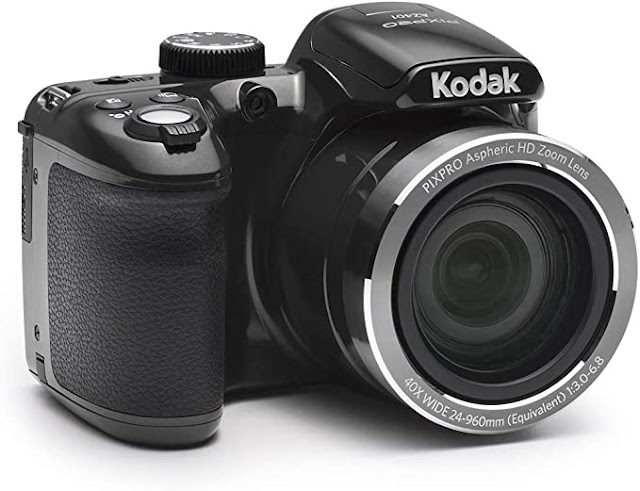
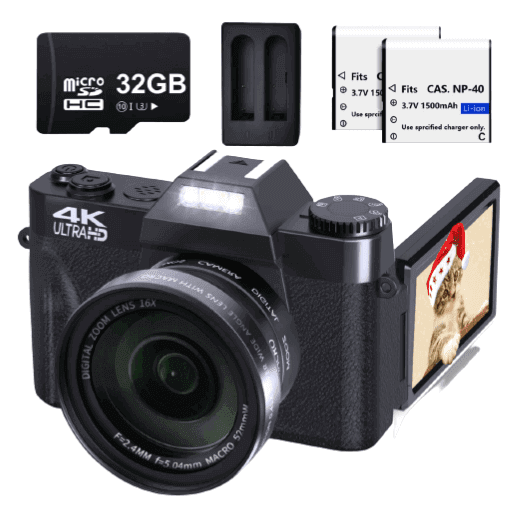
To learn and indulge in photography, the most important thing that you need is a good, reliable camera. The good news is that the prices of cameras have fallen. In addition to that, camera companies are now focusing on the kid and teen categories too. This helps you get a camera that is customized for you kid. There are excellent guides on the best cameras for kids online. Having a good camera is very important to engage your child. In today’s age where kids are used to technology and mobile phones, it is important to introduce them to a new device that is exclusively for one purpose.
The next important step in teaching photography to your kid is teaching them how to hold it. Kids, in general, tend to move a bit and have an unsteady hand. When a kid first takes a photo, it generally tends to be blurry. This makes the child lose interest in photography as in general a kid’s attention span is very less.

The main reason why a photo comes blurry is that the hand may be unsteady or the hand moves when the shutter is opened. You can help your child reduce the blurriness in this way:
i. Make sure that your child holds the camera with both his hands. With the dominant hand, your child should hold the camera and keep it stable. And use the same hand to press the shutter button. Many cameras have a grip position which the child can use to hold. It’s always good to buy a kid’s camera so that the grip will be as per the child’s hand size.
ii. Ask your child to hold the camera close to his body. When the camera is held close to the body, it gets more balance. Your child can have his elbows against his chest or to the side of his body. The body then becomes a base for the camera due to which the sturdiness increases. Leaning the body against a wall can also help increase the steadiness.
iii. Another good idea when it comes to getting support for the camera is to use a flat steady surface. You can have your kid lean his elbows on a table or on any steady surface to get support so that the steadiness will increase and the blurriness will reduce.
iv. Finally, a good option is to have a tripod. However, when you are dealing with a kid, a tripod may not be a good option as you will need to teach him to use the tripod along with using the camera which may make it difficult for him to learn easily.
Kids get easily distracted. That is the biggest problem when it comes to teaching photography to children. In addition to that, when your kid will be taking a photograph, there will be many distractions in the view e.g. when your kid wants to click a photo of his new bicycle, there could be bushes around, the pavement, the lawn, your house in the background. You need to teach them to focus only on one subject at a time. So in the above example, they would focus only on the bicycle and walk close enough so that only the bicycle is the subject of the photograph while trying to reduce the potential distractions of the bushes and the house. Another important point you need to keep in mind when you teach your kid to focus only on one subject is to make sure that they check the lighting and angle and then click.
The attention you need to give when you are clicking an object, a place or a person is very different. You need to explain to the child the difference in clicking these different types of subjects. Keep in mind that when you are clicking a photo of a place as compared to a person, the imagery which needs to be captured is different. In people, the emphasis would be their expression. In place, it would be lighting, etc. Make sure that your child alternates between clicking people, objects, and places so that the overall expertise of your child’s photography increases.
The best way to practice photography is to click a lot of photos. Since these days photos are free (unless you are using a Polaroid camera), you can encourage your child to keep clicking as many photos as they can. The things they can experiment are as follows:
i. Camera - Encourage your child to hold the camera, feel the camera, feel the weight of a camera, and get comfortable with the camera and experiment with all the functions and the features of the camera. This will give them an opportunity to learn and also ask you questions which will help the two of you bond.
ii. Clicking - Since photos cost is zero encourage your kid to click a lot of photos. Make sure that they keep changing the subject and revolving between places, objects, and people.
iii. Angles - There are different angles that you can shoot from. From down to up or high to low. You can also show your child how to step back for a wider angle and front to focus on one object.
Make sure that your child is practicing and using different techniques on different subjects each time. This will allow them a wide range of photo experience rather than just focusing on one.
iv. Backgrounds - Making a note of the background is very important: if a person is wearing a white shirt and standing in front of a white wall then automatically the object will blend in the background. You also need to keep in mind that you have to teach your child to scan the background and then look if there are any distractions. If there are, it's better to change the frame of the photo.

v. Distance - Another important thing to do is to teach your child to understand the distance which is required when they are clicking a photo. Children instinctively want to have as many objects in a screen or a frame as possible. You need to pay attention to that. You need to explain to them that if necessary, they need to go closer or farther from the subject so that the image is captured properly. You need to explain that a single subject is better than many subjects which get lost overall in the frame.
When your child begins to learn photography, encourage them to move forward and backward to understand the distance that is required to have the subject completely in the frame. Once they have achieved a fair amount of expertise, then you can teach them how to use the zoom function.
vi. Lighting - Lighting is one of the most important factors when it comes to the quality of a photo. The light’s origin, the light’s intensity and finally the light direction are the three most important factors. If you correctly use these three factors you will get a great photo.
You need to explain this to your kid and allow them to understand from which direction the light is coming. What is the source of light? Is it the sun? Is it a window? Is it an electric bulb?
Then also look at the subject, and try to understand how the subject facing the light is placed. Inform your kid never to take images when the light is directed to the lens of the camera. The golden rule is that the sun should always be on your back. This is very important so that your child can get a perfect click.
As your child keeps experimenting, he will keep improving his photography skills.
I hope you liked our post on the first five steps on teaching your kids photography. Do comment below if the tips helped. If you have any tips of your own, do share them below.
Photography is a wonderful hobby which sometimes becomes a passion and an occupation. We, as humans, love to experience new things and what better way to capture the magic of something new other than photography. Photography inspires us to get out more often, see things from a new light and connect with places and people.
From my experience, I have seen that children LOVE photography. For them, it’s like a game which they can play endlessly, as the opportunities to explore that photography allows them is boundless. In this generation where kids prefer to be at home on their mobile phone or iPad, giving them a camera which doesn’t do anything other than capture photographs, encourages them to get out of the house, look at things in a different light and increase their concentration.
And the most important thing that you need to keep in mind is that a camera is not a bribe you should use to keep your child occupied. Rather, let it be an opportunity for your child and you to bond and spend time with each other.
Here are the first five steps you need to keep in mind while teaching photography to your kid:
1. Deciding on a camera
To learn and indulge in photography, the most important thing that you need is a good, reliable camera. The good news is that the prices of cameras have fallen. In addition to that, camera companies are now focusing on the kid and teen categories too. This helps you get a camera that is customized for you kid. There are excellent guides on the best cameras for kids online. Having a good camera is very important to engage your child. In today’s age where kids are used to technology and mobile phones, it is important to introduce them to a new device that is exclusively for one purpose.
2. Holding the camera
The next important step in teaching photography to your kid is teaching them how to hold it. Kids, in general, tend to move a bit and have an unsteady hand. When a kid first takes a photo, it generally tends to be blurry. This makes the child lose interest in photography as in general a kid’s attention span is very less.
The main reason why a photo comes blurry is that the hand may be unsteady or the hand moves when the shutter is opened. You can help your child reduce the blurriness in this way:
i. Make sure that your child holds the camera with both his hands. With the dominant hand, your child should hold the camera and keep it stable. And use the same hand to press the shutter button. Many cameras have a grip position which the child can use to hold. It’s always good to buy a kid’s camera so that the grip will be as per the child’s hand size.
ii. Ask your child to hold the camera close to his body. When the camera is held close to the body, it gets more balance. Your child can have his elbows against his chest or to the side of his body. The body then becomes a base for the camera due to which the sturdiness increases. Leaning the body against a wall can also help increase the steadiness.
iii. Another good idea when it comes to getting support for the camera is to use a flat steady surface. You can have your kid lean his elbows on a table or on any steady surface to get support so that the steadiness will increase and the blurriness will reduce.
iv. Finally, a good option is to have a tripod. However, when you are dealing with a kid, a tripod may not be a good option as you will need to teach him to use the tripod along with using the camera which may make it difficult for him to learn easily.
3. Focus on one subject
Kids get easily distracted. That is the biggest problem when it comes to teaching photography to children. In addition to that, when your kid will be taking a photograph, there will be many distractions in the view e.g. when your kid wants to click a photo of his new bicycle, there could be bushes around, the pavement, the lawn, your house in the background. You need to teach them to focus only on one subject at a time. So in the above example, they would focus only on the bicycle and walk close enough so that only the bicycle is the subject of the photograph while trying to reduce the potential distractions of the bushes and the house. Another important point you need to keep in mind when you teach your kid to focus only on one subject is to make sure that they check the lighting and angle and then click.
4. People, Objects and Places Photography
The attention you need to give when you are clicking an object, a place or a person is very different. You need to explain to the child the difference in clicking these different types of subjects. Keep in mind that when you are clicking a photo of a place as compared to a person, the imagery which needs to be captured is different. In people, the emphasis would be their expression. In place, it would be lighting, etc. Make sure that your child alternates between clicking people, objects, and places so that the overall expertise of your child’s photography increases.
5. Keep Experimenting:
The best way to practice photography is to click a lot of photos. Since these days photos are free (unless you are using a Polaroid camera), you can encourage your child to keep clicking as many photos as they can. The things they can experiment are as follows:
i. Camera - Encourage your child to hold the camera, feel the camera, feel the weight of a camera, and get comfortable with the camera and experiment with all the functions and the features of the camera. This will give them an opportunity to learn and also ask you questions which will help the two of you bond.
ii. Clicking - Since photos cost is zero encourage your kid to click a lot of photos. Make sure that they keep changing the subject and revolving between places, objects, and people.
iii. Angles - There are different angles that you can shoot from. From down to up or high to low. You can also show your child how to step back for a wider angle and front to focus on one object.
Make sure that your child is practicing and using different techniques on different subjects each time. This will allow them a wide range of photo experience rather than just focusing on one.
iv. Backgrounds - Making a note of the background is very important: if a person is wearing a white shirt and standing in front of a white wall then automatically the object will blend in the background. You also need to keep in mind that you have to teach your child to scan the background and then look if there are any distractions. If there are, it's better to change the frame of the photo.
v. Distance - Another important thing to do is to teach your child to understand the distance which is required when they are clicking a photo. Children instinctively want to have as many objects in a screen or a frame as possible. You need to pay attention to that. You need to explain to them that if necessary, they need to go closer or farther from the subject so that the image is captured properly. You need to explain that a single subject is better than many subjects which get lost overall in the frame.
When your child begins to learn photography, encourage them to move forward and backward to understand the distance that is required to have the subject completely in the frame. Once they have achieved a fair amount of expertise, then you can teach them how to use the zoom function.
vi. Lighting - Lighting is one of the most important factors when it comes to the quality of a photo. The light’s origin, the light’s intensity and finally the light direction are the three most important factors. If you correctly use these three factors you will get a great photo.
You need to explain this to your kid and allow them to understand from which direction the light is coming. What is the source of light? Is it the sun? Is it a window? Is it an electric bulb?
Then also look at the subject, and try to understand how the subject facing the light is placed. Inform your kid never to take images when the light is directed to the lens of the camera. The golden rule is that the sun should always be on your back. This is very important so that your child can get a perfect click.
As your child keeps experimenting, he will keep improving his photography skills.
I hope you liked our post on the first five steps on teaching your kids photography. Do comment below if the tips helped. If you have any tips of your own, do share them below.
Other Posts You May Enjoy
- Photography Tips, Lessons, and Activities for Children
- 3 Cameras for Photography Students
- Six Tips for Creating Your Own Yearbooks
----
Dan Barr is a photographer, a parent to two girls, and the founder of KidsCameraGuide.com, a blog that is all about teaching photography to kids and kids cameras. You can visit Dan at his website www.kidscameraguide.com or connect with him on Facebook or Pinterest.